Showing posts with label Foodie food. Show all posts

Sunday, April 17, 2011

Simple things

Sometimes, I just like the simple things. Especially when my schedule has been so hectic lately!  Juggling a lot of different responsibilities in school, work, and home sometimes doesn't leave a lot of time to cook up amazing new foods. So, sometimes, all I want is a day of simplicity, like yesterday.

Brian and I were in desperate need of sunshine, so we hopped on our bikes and went on a nice ride in Chico's beautful Bidwell Park.

(Anthony Dunn Photography)

I'd never been bike riding in the park, despite the fact that I have now lived in Chico for four years... and riding bikes in Bidwell Park is a fairly common weekend activity. Well- since I'd never been.... and I have a certifiably awful sense of direction... we got lost.... and our short, 15-minute bike ride turned into a six mile trek. Hah! No biggie, I needed the exercise. And something lovely awaited us at the end!

Earlier that day, we'd stopped by the grocery store and spotted those little mini seedless watermelons on sale. So, before we got on our bikes, I used a small knife to cut into the top of the watermelon, similar to how you'd remove the top of a pumpkin. We packed a spoon and ta-da! Perfect mini-watermelon-snack for two. People at the park gave our little watermelon so many why-haven't-I-thought-of-eating-it-like-that-looks that I felt quite proud of myself....
I know. I'm a dork. But sometimes it is all about the simple things!
What's left of our mini watermelon is chilling in our fridge.... and once we finish it up, I'll most likely make a watermelon-o-lantern with it. :)

foodie foodie!

Saturday, April 9, 2011

Pretty Ratatouille

Last night, I went to the CSU, Chico AIGA unofficial potluck (wow, that's a mouthful). Up until yesterday morning I had no clue what I was going to bring. If you are one of my long-standing readers, then you'll remember the Rosemary Couscous I made for the last potluck. That went well, but I wanted something different.. and something healthy. The more I scoured the web for healthy potluck recipes, the more I realized- there aren't many. Most potluck recipes have some kind of starchy carb like rice or noodles, or are a meat dish... which I really wasn't up to making. SO, as I was searching the internet I decided to watch a movie. I looked over at my shelf of DVDs and what stared back at me? Pixar's Ratatoullie. Horray! I'd found my inspiration.


For those of you who aren't familiar with this film (or the dish), Ratatoullie (the food) is a French stewed vegetable dish. I've seen many recipes for it, all normally including some form of tomato, zucchini, yellow squash, eggplant, and sometimes bell peppers. For the majority of the recipes, the veggies are chopped in rustic chunks... which is delicious, but in my opinion, not always very pretty.  I wanted to make something visually striking, so I decided to make Ratatoullie dish like I'd seen in the film.

Pretty Ratatoullie
You'll need
1/2 c tomato sauce
1/2 yellow onion, finely chopped
1 clove of garlic, finely chopped
dried rosemary
1 zucchini
1 yellow squash
1 small eggplant
2 tomatoes (or 1 red bell pepper)
1 tsp olive oil
2 1/2 tsp fresh thyme 
garlic salt
pepper

Preheat the oven to 375º.
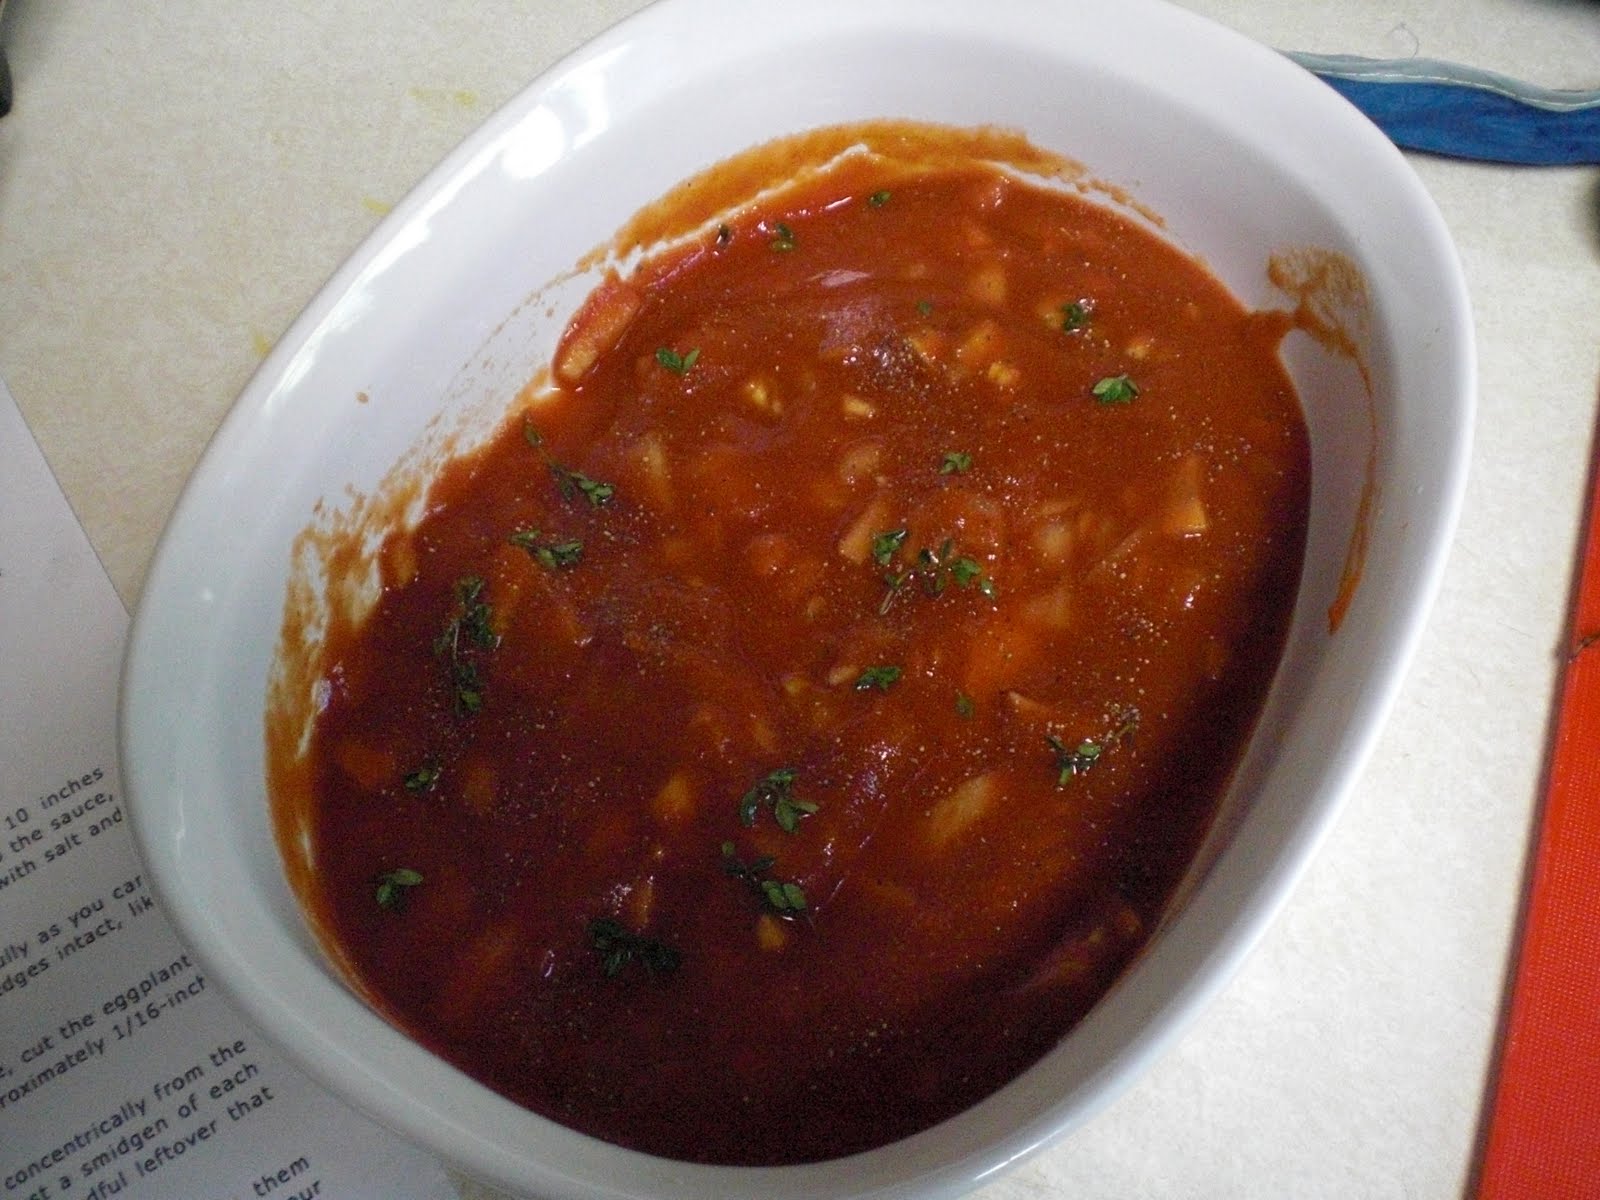
Add the chopped onion and garlic to the tomato sauce. Stir it up and pour into the bottom on an oval baking dish (mine was about 91/2" long). [Garlic] salt and pepper liberally, and add a bit of the fresh thyme.

Now, cut the zucchini, yellow squash, eggplant, and bell pepper (or tomato) into very very thin pieces.


Then, arrange the vegetables in the baking dish all stacked up against each other, starting on the outside and working around.... until it looks like this:


Drizzle the olive oil on top of your masterpiece, and then [garlic]salt and pepper liberally. Toss on the remaining thyme and cover with a piece of parchment paper that is approximately the size of the baking sheet. Put it in the oven for 40-45 minutes until the tomato sauce is bubbling up and the vegetables are tender and lovely. It should end up looking like this little beauty:


It was eaten up by my lovely designer friends at our potluck. I thought it was quite yummy, and will definitely make it again soon!

foodie foodie!

Sunday, April 3, 2011

bad day BBQ

What's the perfect end to a horrid day?
Well... good food can't hurt, can it?
So, to cheer me up, Brian surprised me by firing up our charcoal grill,
here's what we made:

For me, nothing beats grilled veggies, pinapple, grilled Teriyaki chicken and Brian's burgers. 
It ended up being some killer grub despite the lack of planning.


Brian made his recent favorite: a bagel burger. Two hamburger patties between a Parmesan bagel (that we toasted on the grill) with grilled pinapple slices and ketchup, mustard, and relish. I always oggle at how he can put away a double burger made with a bagel... whenever I eat a bagel, I feel as though I've eaten a brick-not to mention with two beef patties between it- but Brian loves it! hah! He sure can gobble up some carbs (lucky duck)


I made a Teriyaki sandwich with some sliced chicken, grilled pinapple slices, red onion, cilantro, and a bit of lime juice. Along with the grilled red bell pepper and zucchini it was pure bliss and a perfect remedy for a crappy day. Yum!


Foodie foodie!

Tuesday, March 22, 2011

Dinner out: Farm Star Pizza

So here's something fairly new, restaurant review. Horrah! I realize that many of you readers are not Chico locals, but then again, some of you are. And I think those that are Chico locals deserve to hear about the yum foodie foodie I eat out as well as at home. So, Brian and I went out to dinner with some of my design-friends. We went to this lovely place named Farm Star Pizza.


It was delicious.
So, what's the deal with Farm Star Pizza? Last night was the first time that I'd been there, and I'd heard many good things about it. Here's what I know: Farm Star Pizza is owned by the same people who own The Red Tavern. As far as I know, they use seasonal locally produced ingredients. So, like The Red Tavern, the menu changes periodically. We are blessed here in Chico with wonderful farmers' markets, and I'm pretty sure that's where Farm Star Pizzas gets many of their ingredients. They use Massa Organics (take a look at my interview from Greg Massa) whole wheat flour to create their (amaaaazziiinng) crusts and other quality ingredients including Pt. Reyes Blue Cheese and Pacific Sun Olive Oil.

Enough about the ingredients. How are the eats?

Fan-freaking-tastic. I must say, living in a college town has the benefit of affordable food. Eating out, though more expensive than eating in, is considerably more affordable here in Chico than in the SF Bay Area (where I'm originally from). Farm Star Pizza was a teeny bit more expensive than I like to pay on a regular basis (I paid $10.25 or so for a salad and the 12-inch pizzas range from $10-$14) but the food is worth every penny. 

I got the "Go Away Winter!" salad: To be honest I can't really remember every ingredient in this salad.. Sorry... but it was very good! I cleaned my plate.

I'd already started muching before I remembered to take a pic!

Brian got "The Matrix" pizza: three cheeses, braised fennel, caramelized onions, and (*drool*) pancetta.


Needless to say, it was two thumbs up. The crust on the pizza was so good, I would have eaten it totally bare. The combination of toppings was innovative and scrumptious. Some of the other designers got other pizzas like "Good Pig" (mozzarella, broccollini, pork sausage, and chili flakes) and "Spudzola" (Carmelized onions, heirloom potatoes, Gorgonzola, and thyme). According to them, their food was also fan-freaking-tastic.

So, my final word on Farm Star Pizza: GO.


foodie foodie!

Other notes on Farm Star Pizza: it is located at 2359 Esplanade, Chico, CA. 
They have their own little parking lot, so do not fear, you'll have a place to park. 
Not only do they have a wonderful selection of delicious foodie food, but they also have an impressive selection of beer (I didn't get a chance to ask about wine, but they do serve it).

Friday, March 18, 2011

blast to the past: egg in a basket. So easy, it doesn't even deserve its own post! hah!

I can explain.... I totally can explain for my unacceptable absence over the past couple of days...

Okay now I've got you expecting some extremely compelling reason for my not blogging yum yums your way, but the truth is: I've been busy. And I don't mean busy-just ignoring my lovely followers, or busy-I'd rather eat out (even though I have been eating out lately)

I mean busy:
1) It's Spring Break of my last semester as a college student
2) I've been clumsily navigating the realm of hand bookbinding to build my design portfolio (which I have been freaking out about, by the way)
3) I've been spending some much needed time with my family
4) I've been [trying] to work on the remaining portfolio pieces for my design portfolio (which need A LOT of love people... a lot)

So there is my list of excuses. Take 'em or leave 'em, but I've got yummies.


When I took these photos while making my egg in a basket, I laughed at myself a bit.
"Egg in a basket!" I said, "who doesn't know how to make an egg in a basket?!" But then I remembered, a few years ago, I'd gotten into the habit of eating an egg in a basket every morning. One morning, a friend was at my apartment and sat quietly as I prepared my breakfast. When I asked her if she'd like an egg in a basket, she simply stared at me and replied, "I'm sorry, a what?" An egg-in-a-basket-euphoria ensued as my friend enjoyed her first sample of my simple childhood breakfast. My dad would make these with my sister and me on special mornings when we were kids, and we'd go NUTS about it. So, in case you are one of those who has never had the pleasure of enjoying a simple, delicious, egg in a basket, here's how you make it:

Egg in a Basket
You'll need:
1 Slice of bread (I used sourdough but you can use any kind you like!)
1 egg
salt/pepper
small tab of butter

Put a frying pan onto the stove over medium/high heat. Add the butter to the pan and allow it to melt. In the meantime, you need to prepare your basket.


Take a cup (or a biscuit cutter, or a cookie cutter...) and press it firmly into the center of your slice o bread. Twist it round a bit, then remove the inner circle.


Then, simply put the bread and little bread circle (I call it the baby-bread) onto the pan. Then, crack the egg right into the awaiting basket. Let the egg cook for a bit and then turn the heat down to medium or even medium low. The more I use eggs, the more I find that in most situations, you shouldn't rush them. Every time I get impatient with my eggs something goes wrong...

Anyways, allow the egg to cook until you can see that it has formed a solid layer of cooked eggwhites on the bottom side. Now is the perfect time to add salt and pepper. Take a spatula and flip it over!


Horrah! When the egg is cooked to your satisfaction (I like mine a teeny bit runny on the inside, but Brian likes his egg cooked all the way through tip: for those of you who like the egg cooked all the way through, try using a knife or fork to break the yolk before you flip it. This will allow the egg to cook more evenly, and you won't have burnt bread waiting for your egg to cook through!) remove it from the pan, put it on a plate, and put it in your mouth. I like mine with ketchup.


Foodie foodie!

Sunday, March 6, 2011

boy[friend]food

[heart-shaped pretzel]

Boyfood. In my case, boyfriendfood. Well, if you've got a boyfriend like mine, then you know that some couples have very different eating habits. For me, I'm all about the healthy, low[ish] carb (only when I'm not too lazy to cut carbs...) foods. For him, bring on the pasta, garlic bread, pizza... the list goes on. So, imagine my disgruntlement as I set out to cook dinner for us both. What do I do? Not to worry healthy foodies. There is a way.
Normally I find myself making two different dishes by using a few common ingredients. Tonight was no exception. I made Brian a tortilla BBQ chicken pizza and a salad for myself. Before you go throwing a hissy-fit let me just say, the salad was quite good. I certainly don't feel like I miss out much while I sit and chew my salad as Brian chows down on pizza. After all, what kind of girlfriend would I be if I didn't steal a bite?

Brian's BBQ Chicken Pizza

You'll need:
(2 pizzas)

2 medium sized tortillas
about 4 oz of chicken breast
3 tsp steak seasoning
(I used Chico Spice Co. Garlic and Pepper)
1/2 green bell pepper
1/2 red onion
1/2 C shredded mozzeralla
1/3 C shredded pepperjack
4 tbs BBQ sauce

Start by preheating the oven to 400º. Line a large baking sheet with a piece of parchment paper. Place the raw chicken into a plastic zip top bag and add the steak seasoning to it. If you are a Chico local, I recommend using Chico Spice Co.'s Garlic and Pepper meat seasoning, I bought it from the Saturday farmers' market. If you don't have access to this, your favorite steak seasoning will be just fine. Seal and shake the bag until the chicken is covered. Put this bag into the refrigerator. Next, do the prep work. Chop the onion and pepper into small pieces and put the two tortillas flat onto the baking sheet. 

Pour a small amount of olive oil onto a nonstick pan over medium-high heat. Let the oil heat up a little and then place the chicken on the pan. Brown on both sides until cooked through. Take it off the heat and set aside. While the chicken is cooling, spread 3 tbs of BBQ sauce onto the tortillas. Then, put the cheese on and the peppers/onions. 
The chicken should be cool enough not to cook your fingertips, so chop/tear the chicken into small bits (so it looks like "pulled chicken"). Place the chicken into a bowl, add the remaining 1 tbs of bbq sauce, and stir around until it is all coated. Split the chicken in half and put part of each pizza. Now it's ready for the oven! YAY!
Bake these for 15-20 minutes (just until the cheese turns golden brown) keep an eye on them though, don't want burnt pizza. So sad.

They should come out looking like this:


Cut with a pizza cutter or sharp knife and allow gleeful boyfriend to jump for joy and happy chow down.

As for me?

Bam.

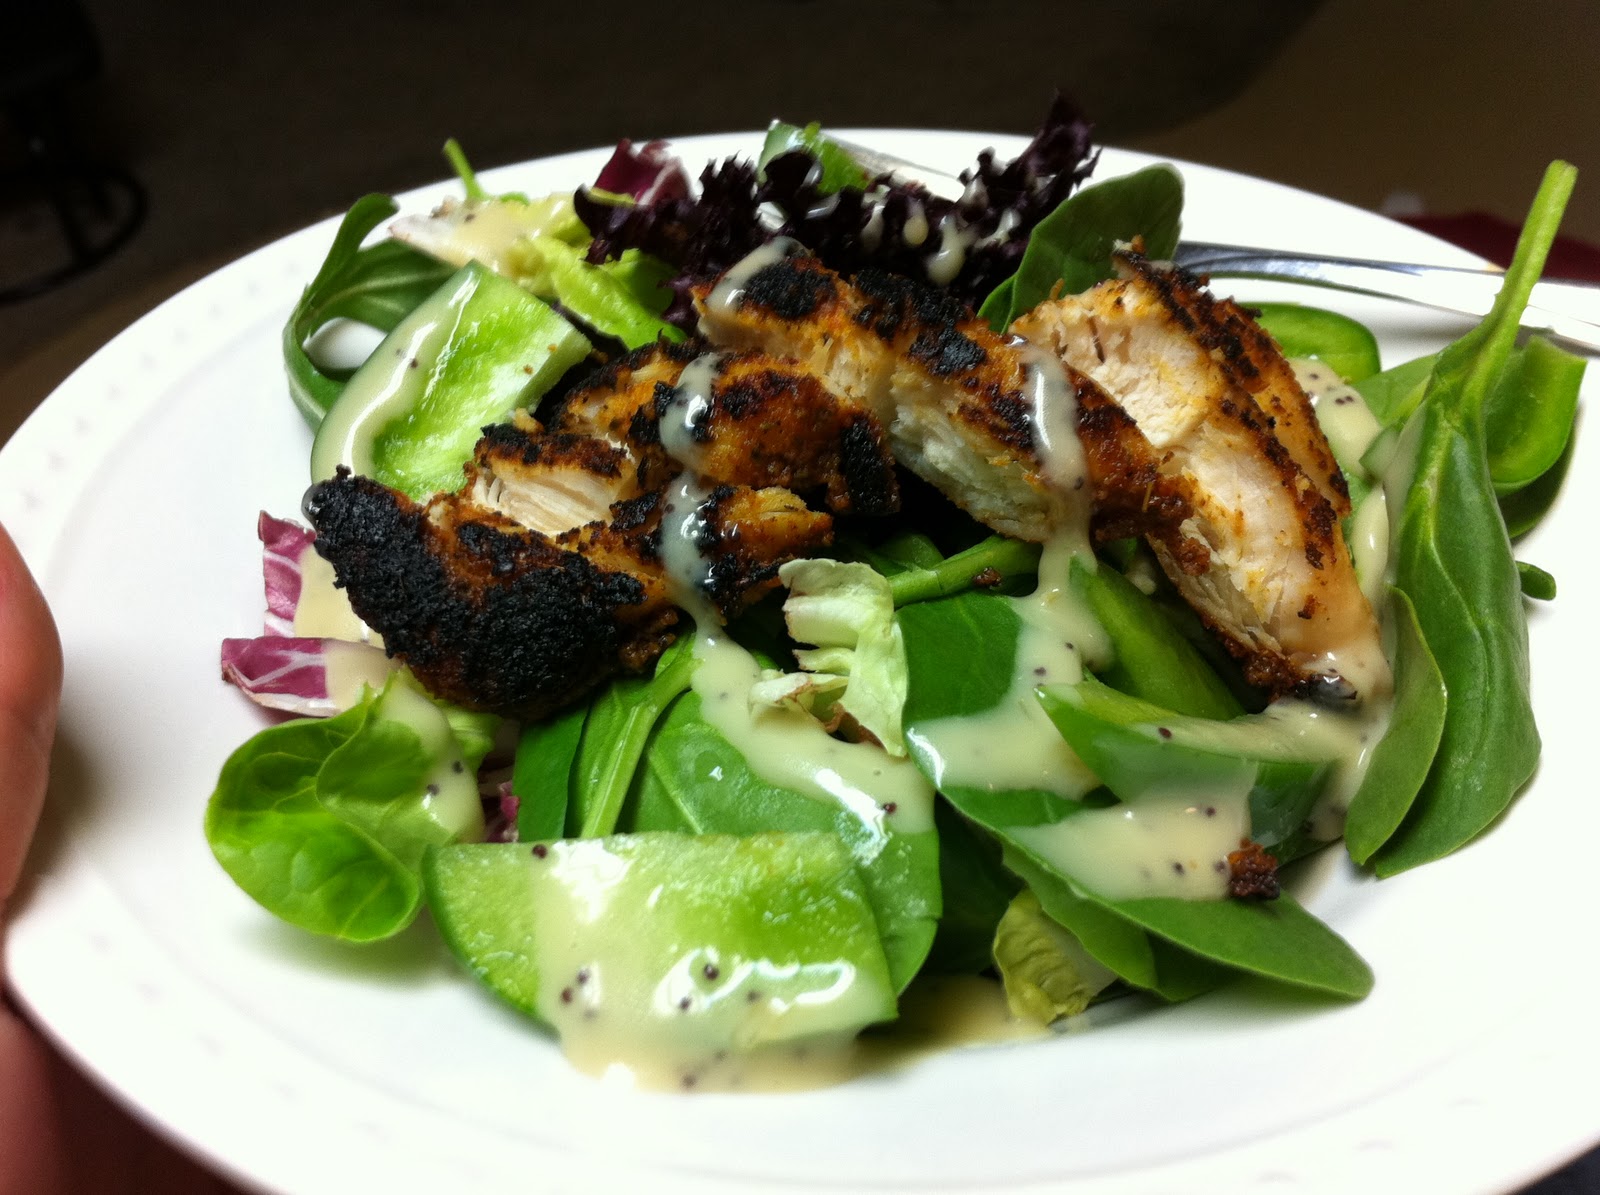
Salad wham-ey! I reserved a piece of chicken for myself, chopped it up, and tossed it with baby spinach, spring mix lettuce, poppyseed dressing, and some peppers and onions that I also reserved from the pizza. NOM.

Problem solved. Two very different meals that share some key ingredients. Another Sunday night dinner conquered.

Foodie Foodie!!

Thursday, March 3, 2011

Tomato Free Salsa

I know, you hate me. But you know what?! I've been busy! Nonetheless I'm sorry for neglecting you of healthy yum yums. Here's something I've been saving to bring brightness to your chilly days. It's tomato free salsa that's to die for. I got the recipe from Lisa Ota ("Auntie Lisa" to me). She's an amazing woman, mother, aunt, and nutritionist at Sacred Bite (click to see her website). She believes strongly in the spiritual and bodily connection with food. She gave me this recipe and I knew I had to photograph it for you all to see. It's so easy, and SO good. Read on yum-seekers.

photo courtesy of Lisa Ota, Sacred Bite


Sacred Bite Tomato Free Salsa:
Courtesy of Lisa Ota, Sacred Bite

You'll Need:

totally didn't mean to put an onion in this image... oops!
1 can of organic whole black beans (drained)
1 can of organic pinto beans (drained)
1 C corn (white or yellow/fresh or frozen)
1 red bell pepper (chopped into small squares)
1 yellow bell pepper (chopped into small squares)
1 C edamame
1 ripe avocado (peeled and chopped in cubes)
4 limes
1 tsp red pepper
1 tbs olive oil
salt and pepper


If you're using frozen corn, prepare it according to the package. If you're using fresh corn, boil it and remove from the cob with a sharp knife. Next, prepare edamame (if you're using frozen). Wash and cut the bell peppers into small squares. Place them into a bowl along with the drained cans of beans. Next, add the edamame, corn, and avocado.


Roll the limes on the counter with a good amount of pressure to release some of the juices. Cut each in half and juice them into a bowl. My limes looked pretty pathetic after I used my dad's citrus juicer on them! Then, toss the lime juice, olive oil, red pepper, and salt and pepper into the bowl with all the other ingredients in it until nice and mixed up! I've found that this salsa is, of course, delicious freshly prepared, but also is VERY good after it's had a little time to mingle. Give it an hour or two in the refrigerator and chow down!

This salsa is really great served with any type of tortilla chip. I made it a while back and tried it with Trader Joes's Veggie and Flaxseed Tortilla Chips (Auntie Lisa's suggestion) and it was amazing!

Monday, February 21, 2011

Mocha-Cocoa Muffins with Espresso Glaze


Well hello everyone!
I've neglected you, so sorry about that. But I have something that will cheer you up!
Mocha Cocoa Muffins :]

After a long weekend of studying, I couldn't imagine a better way to unwind than to make muffins. Like I do every Sunday, I scoped the web for a new recipe (and after a lemon-poppyseed disaster that I will probably re-attempt later) I found this recipe from Joy of Baking for mocha muffins. With a few slight alterations, they turned out amazingly!

Mocha-Cocoa Muffins with Espresso Glaze

You'll need:
2 eggs
1/2 C buttermilk (or milk w/ white vinegar added)
1/2 C canola oil
1/4 C espresso
1 tsp vanilla
1 3/4 C flour
1/4 C cocoa powder
1 C brown sugar
1/2 tsp baking powder
1 tsp baking soda
1/4 tsp cinnamon 
1/2 tsp salt
1 bag of semi sweet chocolate chips
2 tbs esperesso
3 tbs powdered sugar

Preheat the oven to 375º and line a muffin pan with muffin papers (I used cute polka-dotted papers). In a medium sized bowl, whisk the eggs, buttermilk, oil, espresso, and vanilla all together until well incorporated. Set this aside.
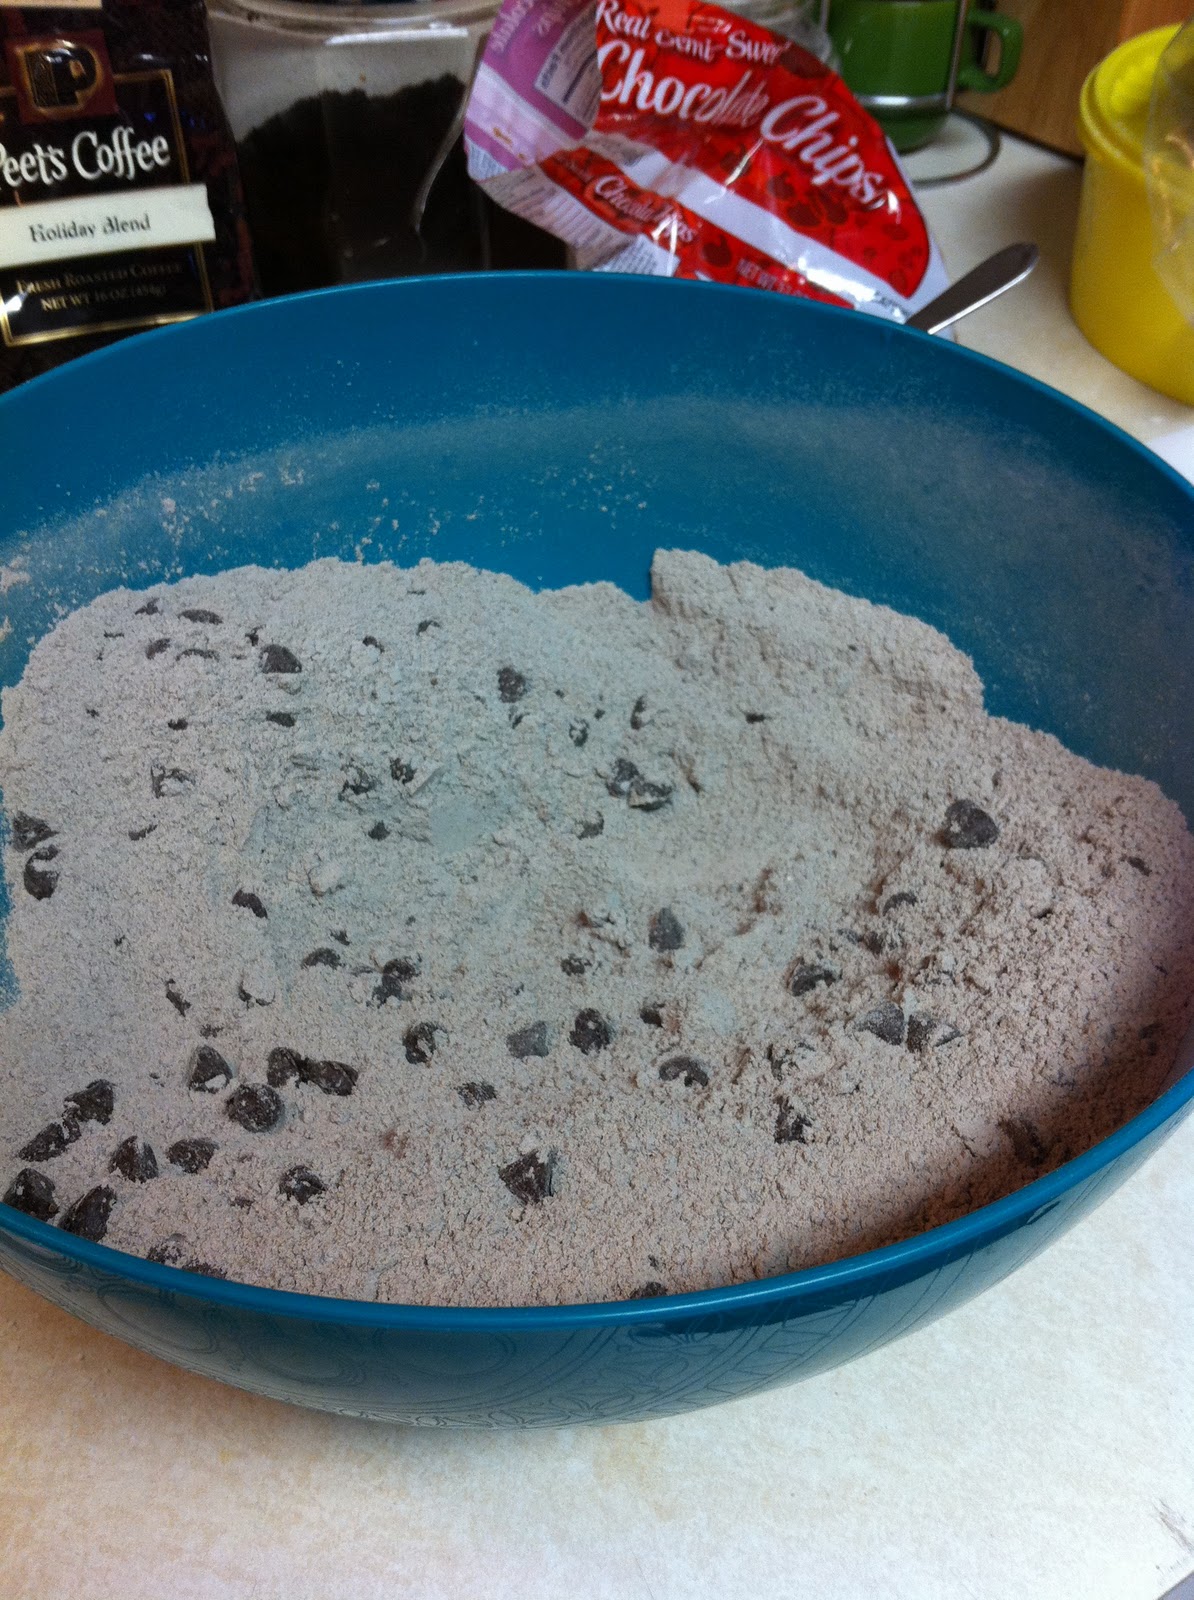
Then, in a larger bowl, whisk together the flour, cocoa, brown sugar, baking powder, baking soda, cinnamon, salt and chocolate chips together.
Then, pour the wet ingredients into the larger dry ingredients bowl. Use a rubber spatula to fold the ingredients together. Be careful not to overmix... this will yield a tough muffin.
Next, fill the prepared muffin papers up about 3/4 full (I filled them a bit higher, but oh well!) Bake the muffins for 15-20 minutes. You might want to test them with a toothpick (and see if it comes out clean).


While you're baking the muffins, now would be a good time to make the glaze. Simply mix the powdered sugar and remaining espresso together and presto!


Once the muffins are room temperature, drizzle the glaze on top of the muffins in a swirly pattern. The glaze will harden in about 10 minutes so don't worry.
Take a moment to admire the glory of the mocha-cocoa muffin, and enjoy!

Saturday, February 12, 2011

Oven "fried" chicken

My friend, Ashley, came over to make dinner last night! Once in a while we get together, pitch in for ingredients, and cook something delicious... and make lady drinks. Lady Drink ["lay-dee dree-nk"] -noun- a girly cocktail, typically including a clear liquor, a very fruity component, and fizzy finish. Of course, also includes a ridiculous garnish such as a twist of orange zest.
Last night it was lemon drops and white wine spritzers. :)

Anyways, Ashley brought over chicken drumsticks, and the only application I could really think of was fried chicken. Well, if you guys have caught on.. I don't do fried. It's not that I don't enjoy eating crispy, amazing, nom nom delicious fried food- it's that I prefer to remain pleasantly curvy rather than unfortunately spherical.

I remembered hearing about a baked fried chicken recipe, so I turned to one of my favorite food blogs, Simply Recipes, to find a baked fried chicken recipe.  
For a sidedish, I remembered my rockstar designer friend, Tory, telling me about her discovery of fennel. I'd never made fennel before, so I decided to give it a whirl. Here it goes! 

Baked "fried" Chicken
(modified from Simply Recipes)
You'll need:
1/4 c Mayo
1/4 c dijon mustard
1 tsp Siracha
1/2 tsp dried dill
3/4 C dried breadcrumbs
1 clove garlic finely chopped
3 tbs finely chopped green onion
6 chicken drumbsticks

Sauteed Fennel
You'll need
1 large bulb of fennel (about 1-2 cups, chopped)
olive oil
1 tsp butter
1/2 tsp dried dill

For the chicken, preheat the oven to 450º mix the mayo, mustard, siracha, and dried dill together. In a separate bowl, mix the bread crumbs, green onion, garlic, salt, and pepper together. Take each drumstick,  dip it into the mustard mixture, and then roll it in the bread crumbs.  Place the drumsticks onto a baking sheet lined with parchment paper. 


Bake them for 20-25 minutes, until they are delicious and amazing!

Next, for the fennel, simply chop, and sautee in a pan (I used my enameled cast iron pot) with olive oil, butter, dill, salt and pepper. Simple enough, right?


Ashley brought a cucumber salad that was amazing (I promise to tell you the recipe as soon as I get it!) Dinner was delicious... and as I sit her sincerely regretting the lady drinks, I wish you a happy Saturday!


Foodie foodie!

Wednesday, February 9, 2011

Pizza pizza pizza


Well, here it is! Pizza.
A while back, I received a request for a homemade pizza entry from my friend, Ryan from In Search of the Perfect Pie, a lovely pizza blog.  I decided to go easy on this one, and make something fairly simple. This is why I chose to use pre-made pizza dough (from Trader Joe's). Let it be known that certain people may not like whole wheat crust, I, however, have nothing against whole wheat anything! So, I used Trader Joe's whole wheat pre-made pizza dough. If you don't like whole wheat pizza crust, feel free to use the white variety.
I definitely plan on making my own pizza dough in the future for y'all, just haven't had the time yet. 
Hope you enjoy:

Kind-of-Caprese-Pizza

Caprese typically consists of mozzarella, tomatoes, basil, olive oil, salt, and pepper. I had all of these ingredients and added onions and sundried tomatoes (ooohhh!)  

You'll need:
flour to sprinkle work surface
One package of Trader Joe's [whole wheat] pizza dough
2 tomatoes
1 small red onion/shallot
2-4 oz. of mozzarella cheese (depends on how cheesey you like it)
About 3 tbs fresh basil (5 or 6 big leaves)
3-4 sun dried tomatoes, cut into strips
olive oil
2 tbs corn meal
garlic salt
pepper

First thing's first: take the dough out of the refrigerator, sprinkle your clean work area with flour, and form a neat little ball of dough. Let it hang out there and come to room temperature for at least 20 minutes.
While that's hanging out, you can do some of your other prep work. Preheat the oven to 450º (500º is even better if your oven will go that high) and chop the tomatoes as thin as possible. Do the same to the red onion. Cut the mozzarella into slices (I used low moisture mozzarella for this, but you could use the fresh kind that's stored in the tubs of water or maybe even shredded) and rip the basil into pieces.


Once the dough has done its time, either hand stretch (I'm terrible at this) or use a rolling pin to make it into a circle/blob shape that is roughly 12 inches in diameter. Try to keep the thickness fairly consistent if you can. Mine ended up being around 13 inches with a wide variety of thicknesses... but oh well. Now, if you have a pizza stone, by all means, use it. Otherwise, you can do what I did: take a large baking sheet and line it with parchment paper. Sprinkle some cornmeal onto the parchment paper (trust me, you want the parchment paper and corn meal. The last time I tried this without the paper or cornmeal, the pizza literally stuck itself to the baking sheet. No fun.) Sprinkle a tad more cornmeal onto the rolled out dough, and flop it (cornmeal-side-down) onto the lined baking sheet. Next, drizzle the dough with olive oil, add salt and pepper, and lay down the tomatoes in one rough layer (a little overlapping is okay). Salt and pepper again!

Add the tomatoes, onion, cheese, sundried tomatoes, and basil on top of the dough like so:


Now you're ready to stick this baby into the oven! Put it in there for 15-20 minutes or until the cheese is nice and bubbly-golden brown and amazing. Horray! Easy, fast, amazing, pizza!


yuuummmmm. This recipe is really simple, and I'm sure there are variations of this floating around somewhere... these flavors are such a classic combination that is sure to please. Give it a try!


Foodie foodie!