Tuesday, November 30, 2010

Midnight snack

Brian's midnight study snack. 

Mango and green tea mochi ice cream! nom nom

I may or may not have snuck a little morsel for myself :]

More to come very soon! I promise!

Foodie Foodie!

Saturday, November 27, 2010

My little Thanksgiving

Set the table! It's Thanksgiving!

Well, I'm sure you've all been just dancing in your seats to see what act of foodie foodie genius took place at my house on Thanksgiving. (harhar)
This year Thanksgiving was considerably small compared to past holiday seasons. Normally, members from several generations flock to my parents house dawning things like sushi, fried rice, turkey, stuffing, and other such things. (Sushi? For those of you who don't know me personally, I'm half Japanese. This makes for very interesting and very yummy family dinners.) BUT this year, we had just a little gathering with my parents, my brother, my sister, her boyfriend, my grandmother, and yours truly.
I'm not sure what got into my mother's head, but she decided that we should have about a zillion times as much food as seven people could eat. An AMAZING assortment of cheeses, home-made sausage, and yummy crackers (courtesy of my brother) TWO turkeys, TWO huuuuge things of dressing (stuffing that has never seen the inside of a turkey) about 100000 lbs of mashed potatoes, brussels sprouts, cranberry sauce, rolls, two giant pies, and a pound cake with ice cream. Looking back, it doesn't sound like a lot of food for Thanksgiving... but really it was. I swear...
Because my grandmother on my mom's side always brings the turkey every year, and because she and my grandpa were sick with colds this year :( We were in charge of the turkey. In a family full of foodies, you'd think we'd be fighting over who'd do the turkey, but somehow, only my father and I ended up doing them. We of course, were in heaven. He did a pecan smoked 12-pounder and I did a roasted 18-pounder. It was quite intimidating... You mess up something as important as the turkey in my family, you get made fun of until someone else messes up equally as badly! Anyways.. here we go.

My First Turkey
My dear friend, Ashley, has a turkey-goddess mother, Miss Susan (who I now refer to as "Turkey Goddess Miss Susan/Mama Florida.) She lives in Florida and Ashley and I visit her roughly every summer. She, happily, had a wonderfully easy recipe that she gladly shared with me. After a taunting phone call from my sister ("YOU'RE doing the turkey?! oh my God DON'T MESS IT UP!!! hahah") plus a few additions and changes– here is what I ended up doing.

One 18 pound turkey
1 stick of salted butter
1/2 C of salt (kosher or sea salt work best)
a bunch of pepper (adjust to how much you like pepper)
2 tbs poultry seasoning
1 1/2 tbs pickling spices
1 medium yellow onion
1 honey-crisp apple (or any type of very sweet apple)
1 head of garlic
2-3 sprigs of rosemary
1 C chicken broth
1 clove garlic

Dry-rub for the turkey
Make sure to defrost your turkey before-hand. Dawn your handy-dandy latex gloves, (if you're as weirded out at man-handling a whole raw turkey as I am) remove the stuff inside of the turkey, rinse it off, and pat it dry with a paper towel. Make sure you dry the cavity on the inside. Preheat the oven to 350°. Combine the salt, pepper, poultry seasoning, and pickling spices in a little bowl. Set aside and then soften the butter so that it's just warmer than room temperature. Rub the butter all over the turkey with your hands (the latex gloves make this a little less weird..) and sprinkle 1/2–3/4 of the salt/spices mixture on the outside. Then, sprinkle the remaining spices into the cavity. Now, take off your turkey gloves and chop the onion and apple into large chunks. Put them into a microwavable bowl with a splash of water and microwave for one minute.
While that's getting nuked, get your overly enthusiastic father to whack the head of garlic in half so that it looks like this:
photo from "The Saucy Chef Notes"
By this time, the microwave should have called your name so go fetch the onion and apple and shove them inside the turkey cavity along with the garlic and rosemary. Now, get the turkey totally ready for roasting. My dad and I had to wrestle the wings and legs into the right positions so that the stuff inside the cavity didn't fall out. Put the turkey in  the oven. I wasn't so sure about the whole tinfoil thing, Mama Florida had told me to put it on from the very beginning, but I ended up uncovering it for most of the cooking time and re-applying the foil toward the end to avoid skin-burnage.
While that's roasting away, warm the chicken broth with the clove of garlic in a little pot on the stove. Roughly every 45 minutes, baste the turkey with the garlicy-broth. Make sure not to baste it to the point that the dry rub runs off. If you run out of broth, simply use the juices that are in the bottom of the roasting pan.

When receiving the glorious recipe from Mama Florida, she told me that turkeys normally need about 15-20 minutes per pound. This worked out to be just about 4.5 hours for this monster turkey. But BEWARE. My parents' oven must be on steroids (and takes advantage of convection technology) so instead of 4.5 hours, the turkey was done in 2.5 hours. Crazy, huh? Moral of the story: learn your oven... and keep a meat thermometer nearby. The turkey is done when the breast is about 160° and the dark meat like the thigh is around 180°. My turkey didn't hit these measurements exactly, but close enough. Take the turkey out and cover it with foil. During the first 15 or so minutes of the oven, the turkey will continue to cook. Actually, it'll probably raise 1 degree per every minute for about 15 minutes. ALLOW THIS TO HAPPEN. If you cut into the turkey right away, it'll lose all of the yummy juices. Be patient.. 


Here it is, in its Turkey Glory!
I thought it was quite successful. I was terrified that it'd turn out really dry, but thankfully, it was very good! 

After doing the turkey, I helped out with the rest of the preparations like cranberry sauce and the other turkey (who's recipe I may or may not post... if I feel so inclined haha) and then ate myself into a glorious Thanksgiving food-coma. After we all stuffed ourselves, my mother's not-so-secret-plan of sending us all home with an absurd amount of leftovers panned out, and here I sit with a lovely little Thanksgiving left-over "sangwich":
Oh.. I do love leftovers!


I hope everyone had a wonderful Thanksgiving! 

Foodie foodie!

Wednesday, November 24, 2010

Fear not!

Hey foodie foodies!
I'm sorry I've been neglecting you, I know you must have been dying without me.
I've been in the whirlwind that I like to call "Oh-my-God-it's-Thanksgiving-break-so-no-school-now-I'm-gonna-be-so-lazy."

I hope you forgive me.
There is, however, a little Thanksgiving post to look forward to.
Hang in there yum-lovers!

My mother has sent me on the epic quest for a turkey recipe that does not include a brine and can be made in the oven. Any suggestions?

and, oh, happy Thanksgiving!

Saturday, November 20, 2010

Ginger Spice Cake

It seems that I am surrounded by more foodies that I thought! Down in the studio where I have my design internship, fellow foodie, Ryan, arranged a Thanksgiving potluck this past Wednesday. It was a joyous event, everyone brought something delicious. Including Ryan (of In Search of the Perfect Pie) and his AMAZING turkey (no kidding- the best thanksgiving turkey I've ever eaten!) among other nom nom things.
For my contribution, I decided that I'd make dessert: Ginger spice cake (with pumpkin ice cream.)
My sister had made it for a Christmas eve dinner sometime in the past, and remembering how yum-tastic it was, I called her and asked her for the recipe. She said that she'd gotten it off of epicurious.com.
Nonetheless, amazing. I really love this cake because of its ginger-licious flavor and it always turns out super moist and amazing.
Here we go:

You'll need:
1 1/4 C all purpose flour
2 tsp ground ginger
1 tsp ground cinnamon
1 tsp baking soda
1/4 tsp ground cloves
1/4 tsp salt
1/4 C finely chopped crystallized ginger
1/2 C vegetable oil
1/2 C molasses (I used dark molasses even though the recipe calls for lighter molasses)
1/2 C packed dark brown sugar
1 egg
1 1/2 tsp grated lemon peel
1/2 boiling water

Start out by preheating the oven to 350° and butter/flour an 8 inch square baking dish. Then, whisk the flour, ground ginger, cinnamon, baking soda, ground cloves, and salt into a bowl. Then whisk in the crstalized ginger.
Ginger tips: The crystalized ginger can be very overpowering if not handled correctly. It is important to chop it into teensy pieces before adding them into the other ingredients. Also, once you've whisked them in, it's a good idea to use your hands and sift through to make sure there aren't any giant clumps stuck together. 

Next, whisk the molasses, oil, brown sugar, egg, and lemon peel into a big bowl. Whisk well, then add the boiling water. Next, you'll add the dry ingredients into the big bowl of wet ingredients. Don't do this all at once, do it gradually to avoid clumping. I normally put in 1/3 at a time and whisk in between to get everything all mixed.

Pour the batter into the baking dish and put it in the oven. Bake it for about 30 minutes, or until a tester (toothpick) comes out clean when inserted into the middle. Serve with a scoop of pumpkin ice cream. (ohmygod NOM NOM NOM!!!!!!!!!!!!!)
Into the oven
"EAT ME!!!!"

The potluck was lovely, everyone brought something delicious. There was turkey (of course), mashed potatoes, green bean casserole, fruit salad, cranberry sauce, olives, pickles, apple cider, boysenberry pie, and of course, ginger cake with pumpkin ice cream. It was a bit hard to get back to work afterward, due to the food induced coma...
Ryan carving the turkey @ the head of our spread of amazing food!


Foodie Foodie!

Wednesday, November 17, 2010

Weeknight Dinner #2

As I walked across campus from my night class in the freezing cold, shaking my fist at the air around me for being so frigid and at myself for forgetting my sweater, all I wanted was a bowl of hot deliciousness to combat the excruciating hypothermia.

Okay, maybe I'm exaggerating about the excruciating hypothermia, but it was very cold, and I was very grumpy...

When I got home, I realized that I just didn't have the patience to slow cook a stew for a few hours, and I certainly didn't want to spend that much time cooking when I really should be doing homework. SO: diving into my fridge I discovered a jar of tomato pasta sauce that I had used maaayybe 1/2 a cup from earlier this week.. and thought, "I should really use this."

This is the recipe that followed:

Quick, Healthy, Comfort-foody, Tomato-Stewed Chicken

You'll need:
olive oil
Garlic salt and pepper
1 onion (I used a white onion)
1 C chopped mushrooms
2 boneless skinless chicken breasts (This serves two people, but you can add more chicken if you're feeding more people!)
a 14.5 oz can of diced tomatoes
roughly 13 oz of tomato sauce from the jar (about half of the jar)
1 clove of garlic
2 TBS balsamic vinegar

Start by putting a nonstick pan onto the stove on about medium-high heat. Drizzle with olive oil, and while you're waiting for that to heat up, chop the onion into about 1" chunks or so. When the pan in good and hot, drop the onions in there and then salt and pepper liberally.

Then, clean and chop the mushrooms, and add them to the pan. Cook until the onions are translucent and the mushrooms are soft. Place this into a bowl and set aside.

Then, sprinkle the chicken breasts with salt and pepper, add more olive oil to the pan, and cook the chicken on both sides until it is brown is pretty much cooked through. I cooked them on medium-high for just about five minutes per side. It will continue to cook later during the "stewing" process, so don't worry too much. Then, open up the can of diced tomatoes and drain the extra liquid. Add this to the pan along with the half jar or tomato sauce. Then, add the onions and mushrooms you set aside earlier. Salt and pepper again! No bland-ness... ick. Let this simmer for a while, until the liquid reduces down. I let is stew there for about 20 minutes. If the liquid reduces TOO much, then simply add a bit more tomato sauce or even water. At this point you want to chop up the garlic and let it stew in there as well.
While this is stewing away.... you can work on the super simple and healthy side dish!


Super Simple and Healthy Side Dish: Roasted Carrots
Any excuse I can find to use my oven (to heat up my tiny apartment) is great. I saw a similar recipe for roasted carrots like this somewhere on the Food Network, so I decided to put a little spin on it.

You'll need:
5-10 carrots (just depends on how much you wanna make)
olive oil
Salt and pepper
1 tsp lemon juice
1/2 tsp dried dill

Preheat the oven to 400 (horray! Warm apartment!) Peel and chop the carrots (at a diagonal) and place them in a large bowl. Drizzle with olive oil, salt and pepper, dill, and lemon juice. Stir them all together so that all the carrots are all coated with the lovely flavors. Put them onto a baking sheet and place into the oven. Let them roast for about 20 minutes, but it could be more or less depending on the thickness of the carrots. When they are done roasting, they should be fork-tender and a bit browned around the edges. Yum yum

So, by the time the carrots are done roasting, your chicken should be perfectly stewed! Clever, huh? :P


Dish 'em up and enjoy! Nom nom nom.. hot healthy comfort food :]


foodie foodie!

Sunday, November 14, 2010

Muffin Monday: Coffee Cake Muffins with a Hint of Lavender

Roughly every other Monday, yours truly brings home-made muffins down to the studio where I have my design internship. Here's what I figure... Mondays suck.. especially in the morning... Muffins, however, do not suck.

Muffins are lovely.

So: Mondays (which suck) + Lovely Muffins (which DO NOT suck)= Less-sucky-lovely-Mondays.

Got it?

This weekend, I found myself at the Saturday morning farmers market and stumbled across a little tent full of lavender supplies. Lavender pillows, lavender dryer bags, and these teeny bags of lavender that could be used in cooking. I had never cooked with lavender before, but I figured that this was the perfect opportunity! I bought the teesy bag of aroma-mazingness and meandered home with my fresh produce.

Unfortunately, the recipe that accompanied my cooking lavender (for sour cream lavender coffee cake) turned out to be a bit of a flop... lavender, brown sugar, pecans, vanilla, lemon, cinnamon... basically it was a big cluster-Fword. Don't get me wrong... I am all for complex flavors! Believe me, give me a good complex flavored morsel and you'll be my new pal... but in this case I found myself leaning toward the more simple side of things.

Photo I took at Pelindaba lavender farm, San Juan Island, Washington


After remembering a trip to Pelindaba lavender farms (on the San Juan Islands, off the coast of Washington) and the BEST vanilla lavender ice cream I have EVER consumed, I decided to keep with these two simple flavors: lavender and vanilla.

So, after adapting the given recipe to my own, more simple recipe (and cutting out a good amount of sugar) this is what I came up with:

Coffee Cake Muffins with a Hint of Lavender
1/2 C Butter (I used salted)
1 1/4 C Sugar
1 tsp Vanilla extract
2 eggs
3/4 C sour cream
1 tsp crushed lavender buds
2 1/4 C flour
1 tsp baking powder
1 tsp baking soda
1/2 tsp salt

(for a lavender-sugar topping)
1/2 tsp crushed lavender buds
2 tsp sugar
A word of caution: don't go overboard with the lavender... it can be overpowering.
Preheat the oven to 350°.
Make sure the butter is softened (not melted) or at room temperature. Cream the butter and sugar together until it is smooth (I use a hand mixer for this.) Add the vanilla, eggs, and sour cream and mix until incorporated. At this point, I decided to adopt the same philosophy for lavender that I have for salt and pepper while cooking savory food: do it at every step. So, now that I had mixed all of the wet ingredients together, now it was time to add a little lavender (and fold it in.)

In a separate bowl, whisk together the flour, baking powder, baking soda, and salt. Make sure to whisk the dry ingredients really well, or even better, sift the ingredients first to eliminate any clumps. Then, combine the wet and dry ingredients and fold until they're just mixed together. Add lavender again now! Be sure not to over-mix the batter at this point. If you overdo it, the texture of the muffins may turn out all wrong.

Next, line a muffin pan with paper liners. Fill each cup 3/4 full. Now, take the extra lavender and mix it with the 2 tsp sugar. Sprinkle just a bit onto the top of each little muffin cup. Place in the oven for roughly 20 minutes or until they're golden brown on top. When they're done, remove them from the muffin pan and let them dry on a tea towel or cooling rack. This recipe should make about 18 or so muffins.


So there you have it: a simple, fluffly, delicous coffee cake muffin with just a hint of lavender!

Bet you wish you were my co-worker! Muaha.

Just a note: You will need a mortar and pestle in order to crush the lavender buds, most lavender is sold in bud-form and requires crushing. I got a teensy one at World Market for around $4!


Foodie Foodie!

Friday, November 12, 2010

Rosemary Honey Couscous

Hey everyone!
Last night I went to an AIGA potluck at the wonderful Hannah's house, and was asked to bring something to contribute to the yum-yum extravaganza.

Just a little background: AIGA @ CSU, Chico is a student Graphic Design club. AIGA, however, stands for the American Institute of Graphic Arts. It is a national organization for design professionals. Our fabulous snack coordinator, Tory, set the bar high for us in terms of deliciousness at the beginning of the semester, so we have each taken turns trying to outdo one another for our snacks at meetings. I, for example, put on a Cookie-palooza. Four different types of cookies. FOUR. Made from scratch. Don't mess with me...

Anyways, so all in all, we at AIGA CSU, Chico have a strong history of scrumptious snacks. This being said... our potluck was freaking bomb-diggity.

Here's what I brought:

Rosemary Honey Couscous
I love this recipe because it is fairly quick and seems to impress.
Once again, my iPhone and I are very sorry for the ghastly lighting in my kitchen

I made a giant amount since I was bringing it to a potluck, but for a normal amount you'll need:
1 C couscous (whole grain or regular will work)
1 C water
Salt/pepper
1/2 C honey
1/4 C apple cider vinegar
3 TBS rosemary (fresh)
1/4 C raisins
1/4 C dried cranberries

Follow the directions on the box for the couscous. Generally, it's an even amount of boiling water and couscous, take off the heat, and let it sit covered for about 5 minutes. Then you'll want to fluff it a bit with a fork so it doesn't get too clumped. When you've got it all mixed and have taken it off the heat, add one sprig of rosemary and salt and pepper it liberally. The rosemary sprig will be removed later, but its essential oils will seep into the couscous as it softens.


For the dressing, put the honey in a small saucepan and put it over low heat. Through experience I've found that keeping it on low and avoiding boil-age will yield a much better product. Add the vinegar and stir. Then, chop the remaining rosemary into ity-bitty pieces.  Salt and pepper liberally, and then add the rosemary. Mix it around and allow all the ingredients to mingle together.
Note: Keep in mind, in terms of the honey:vinegar ratio, I normally just guestimate to get a balanced flavor. I don't usually like it to taste TOO honey-ish or TOO vinegar-ey. So, if these amounts don't work for you, go ahead and add a splash of vinegar or just a bit more honey! Find what works for you.


Then, you'll add the raisins and cranberries into the awaiting couscous pot (do this at least 10 minutes before serving. The heat of the couscous will help plump up the dried berries) and then pour in the dressing.


Mix it all together (take out that whole rosemary sprig) and TA-DA!!!!! Killer delicious couscous. Deceivingly simple. Yum Foodie Foodie.
 Needless to say, the potluck was a joyous occasion. Food, fun, designers. What more do I need in life?! Oh.. besides, of course, Foodie Foodie :P Hope you enjoyed


Foodie Foodie!

Tuesday, November 9, 2010

Ready-Made Review

Soooo, as I've said before, I'm a college student. And though I certainly could allow you to entertain the illusion that I cook a delicious foodie foodie meal every night of the week, that's simply not the case. Sadly, your Foodie Foodie goddess does not have time to cook a meal from scratch every single night... though I certainly would love to!

Which leads me to tonight's topic: ready-made food. (gasp!)
I know, I know. Boxed food?! Frozen food?! Bah! How dare you?!

Before you throw a hissy fit, allow me to say that NOT ALL READY-MADE FOOD IS BAD. In fact, it can often be a saving grace for a girl like me who literally has minutes to spare in between classes, meetings, work, and internships.

Tonight was like many in my crazy schedule: no time to prepare anything to eat! So, do I run to the nearest fast food joint? No way. I reach for my handy-dandy frozen food selection. Please understand, that I do not take frozen food lightly. I do not eat hot pockets or any form of ...pocket. Nor do I eat boxed pastas or rice like Mac and Cheese (not because I dislike it, but because I will soon be spherical if I do eat it) The ready-made foods I do purchase must be nutritionally sound and, most importantly, tasty.

So here's tonight's ready-made food review:
Trader Joe's Chicken Shu Mai 

Dim Sum. Dim Sum. Say it with me. Dim sum. In a nutshell, Chinese breakfast consisting of little dumplings, buns, and other items of the like. Ultimately delicious. So when I saw the frozen Chicken Shu Mai (a common item in Dim Sum) I literally freaked out in the frozen isle, lunged at the freezer, and proceeded to checkout. I was a bit apprehensive because it seems that the frozen version of a beloved food tends to be sad and disappointing. But I decided to give it a try anyway!

I simply followed the instructions and steamed the little yum-nuggets in a steamer/pot with boiling water for about 6 or 7 minutes. Put that with a little soy sauce and sesame seeds and TA-DA!
A little dinner in less that 10 minutes. Bravo Trader Joes, bravo.


steamin away

And the taste? Admittedly, not as good as the fresh, delicious little dumplings that they cart around to you at the DimSum restaurants, but still quite tasty for a frozen food.  My rating? 8 out of 10 Generally good texture, but the little things lose heat very quickly... so it's either inhale them, or eat the lukewarm. They can, however, be microwaved. Hello new lunch in the studio!


Foodie Foodie!

Please note, that Yum Foodie Foodie does not request or accept any form of compensation or payment for product reviews.

Sunday, November 7, 2010

Oh the weekend...

Hey there yum-seekers
Saturday morning farmers market

One of the wonderful things about living in Chico are the farmers markets. For roughly half of the year (during the warmer months) there is a farmers market every Thursday night. They close down some of the streets of downtown, and people come to buy and sell fresh fruits, hand-made crafts, yummy food, and so on. We also have a Saturday morning farmers market that is year-round (yay!) and happens to be a short walk from my apartment (double yay!)
Needless to say, I go almost every week so see what the local farmers have brought by.
Brian buys me flowers almost every time we go! I'm so spoiled :)

This week I brought home a bag of goodies that looked like this:

A few bell peppers, a couple of organic fuji apples, a recipe for lavender coffee cake with the lavender buds, and a bag of samosas (Indian pastries.)
So I decided that I should make something yummy that included at least one of the things I bought at the farmers market... so here it is:
A VERY simple but yummy breakfast recipe.


Simple Scramble
4-5 large eggs (depending on how many people you are feeding)
Splash of milk
One bell pepper (mine's from the farmers market)
1/2 onion (or 1 medium/small onion) I used a yellow onion but feel free to use whatever type you like
2-3 Tbs cream cheese
1 pad of butter for the pan
salt and pepper
A few little bunches of fresh basil (if you've got it)

Chop up the bell pepper (farmers market item!) and onion into small pieces. Put a nonstick pan on the stove over medium/high heat and melt the butter on it. Add the onions and cook until translucent. Then, add the bell peppers. Cook until just before fork-tender. Be sure to salt and pepper at this point.


Then, crack the eggs into a bowl and beat them with the milk. Pour the eggs on top of the onion/bell pepper party in the pan and scramble it up! Again, be sure to add salt and pepper at this point... don't want bland eggs! Blegh! Take the basil and either rip it into little pieces of chop them into fine strips.

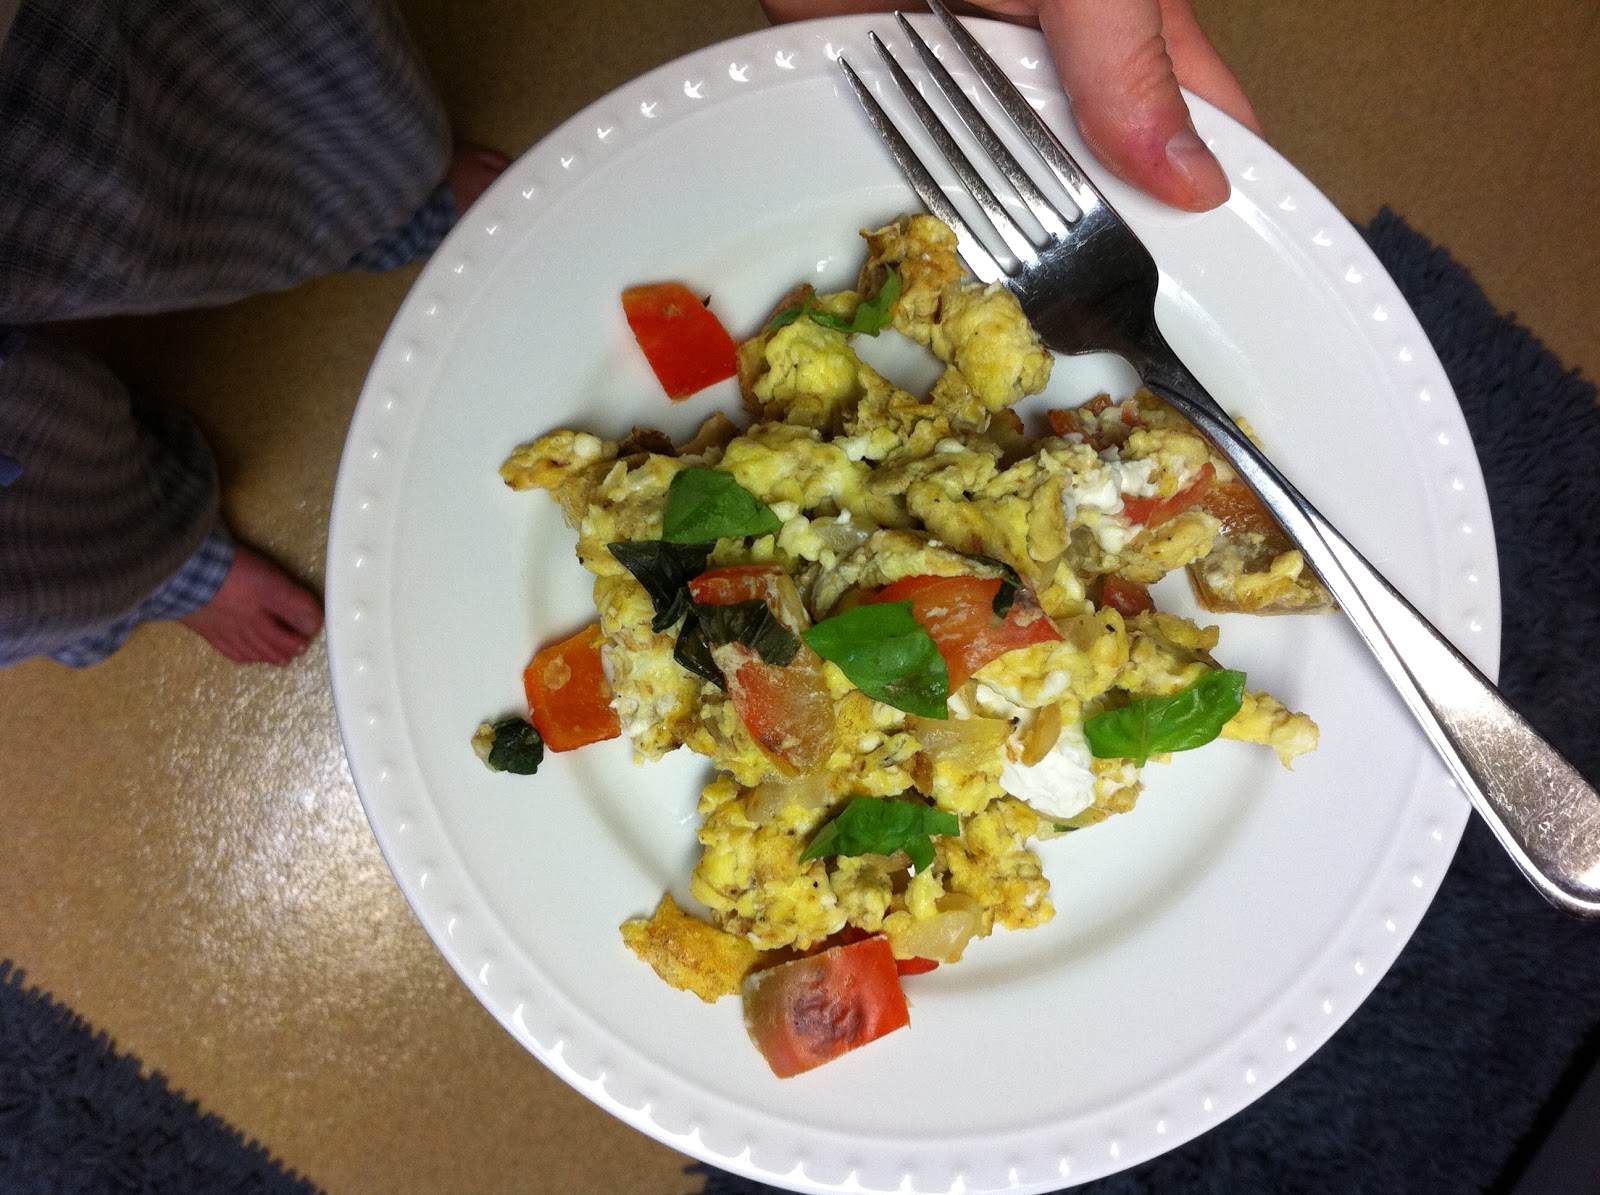
Now, take some of the cream cheese and pinch into little pieces. Drop them into the pan when its just about finished and scramble it up a little more. "Cream cheese?" you ask? Yes. Cream cheese. Very yum foodie foodie, trust me.


Add some of the basil when just finishing up cooking the eggs. Ta-da!
Add a little basil for garnish.


And there you have it :)
Brian's portion w/ a little ryebread toast


mine :D
Like I said, VERY simple, but that's normally my goal when cooking: not to go too crazy. Who has time for extravagance?  I would love to make crazy complicated meals more often, buuuuut I'm in college. Who has the time? I hope you enjoyed this post :)

Foodie Foodie

Thursday, November 4, 2010

Massa Organics

As you know, I am a college student. So, I spend a lot of time doing things other than yum-seeking (shocking I know!) One of my classes (Communication in Business) requires me to take part in a group project. This project involves involves research on a topic of our choosing. We chose to research an organic food company who communicates with its consumers using social media. So I thought, what a wonderful post for Yum Foodie Foodie! 


Yesterday morning, I had the chance to speak with Greg Massa of Massa Organics. My group met up at Starbucks (yeeccckkkk starbucks...) to speak with Greg.
Here's a little background: Greg is the proud owner of his small family farm (Massa Organics) that is located near Chico, CA. Massa Organics exercises responsible practices in terms of sustainability and conservation. They produce organic rice, almonds (pronounced "aye-mands" up here in Chico) and wheat. Not only do they sell their products at farmers markets all across Northern California, but they also provide them to restaurants! Some places in Chico who use their products include the Tin Roof Bakery, Raw Bar, Red Tavern, S&S Natural Foods, and Chico Natural Foods. But it doesn't stop there! Massa Organic products are also featured at some very wonderful Bay Area restaurants including The Slanted Door and Cafe Gratitude.

photos from Massa Organics Facebook


Sitting down with a steaming latte, I listened to Greg as my group pelted him with questions regarding social media and his company. He graciously and patiently answered and gave us much detail about how it all works.

Greg primarily uses Twitter to communicate with his consumers. He says that it works the best for him because he often finds himself tweeting while out on the tractor on his fields. One time, he mentioned, he was on his tractor and noticed that someone had tweeted "What should I order?" at a certain restaurant located in the San Francisco Bay Area. Delighted, he responded that they served their organic brown rice there, and he was harvesting it right then!

Greg also utilizes Facebook, Youtube, and occasionally blogs. He also mentioned that he prefers using social media over traditional methods of advertising, which are expensive and impossible to gauge their actual effectiveness. Social media, he said, works better for him because he gets to build connections with his consumers. Connecting with his consumers is his goal, not pushing products on people. Very refreshing if you ask me.

Social media, he stated, is wonderful for keeping his consumers informed. One example he gave us was how they are experimenting with raising ducks in the rice fields, much as they do in Asia. He said that people were very curious about it, and that they enjoyed hearing about their progress.

So there's just a tidbit of our interview with the wonderful Greg Massa.
Be sure to follow him on Twitter
Check out his Facebook
Take a look at the Massa Organics Website
and take a gander at the blog for recipes and pics!

A big thanks to Greg for meeting up with our group and for the wonderful insight to his business!


Foodie Foodie!